In this guide
A small bag for the outing
Give the daypack a specific job
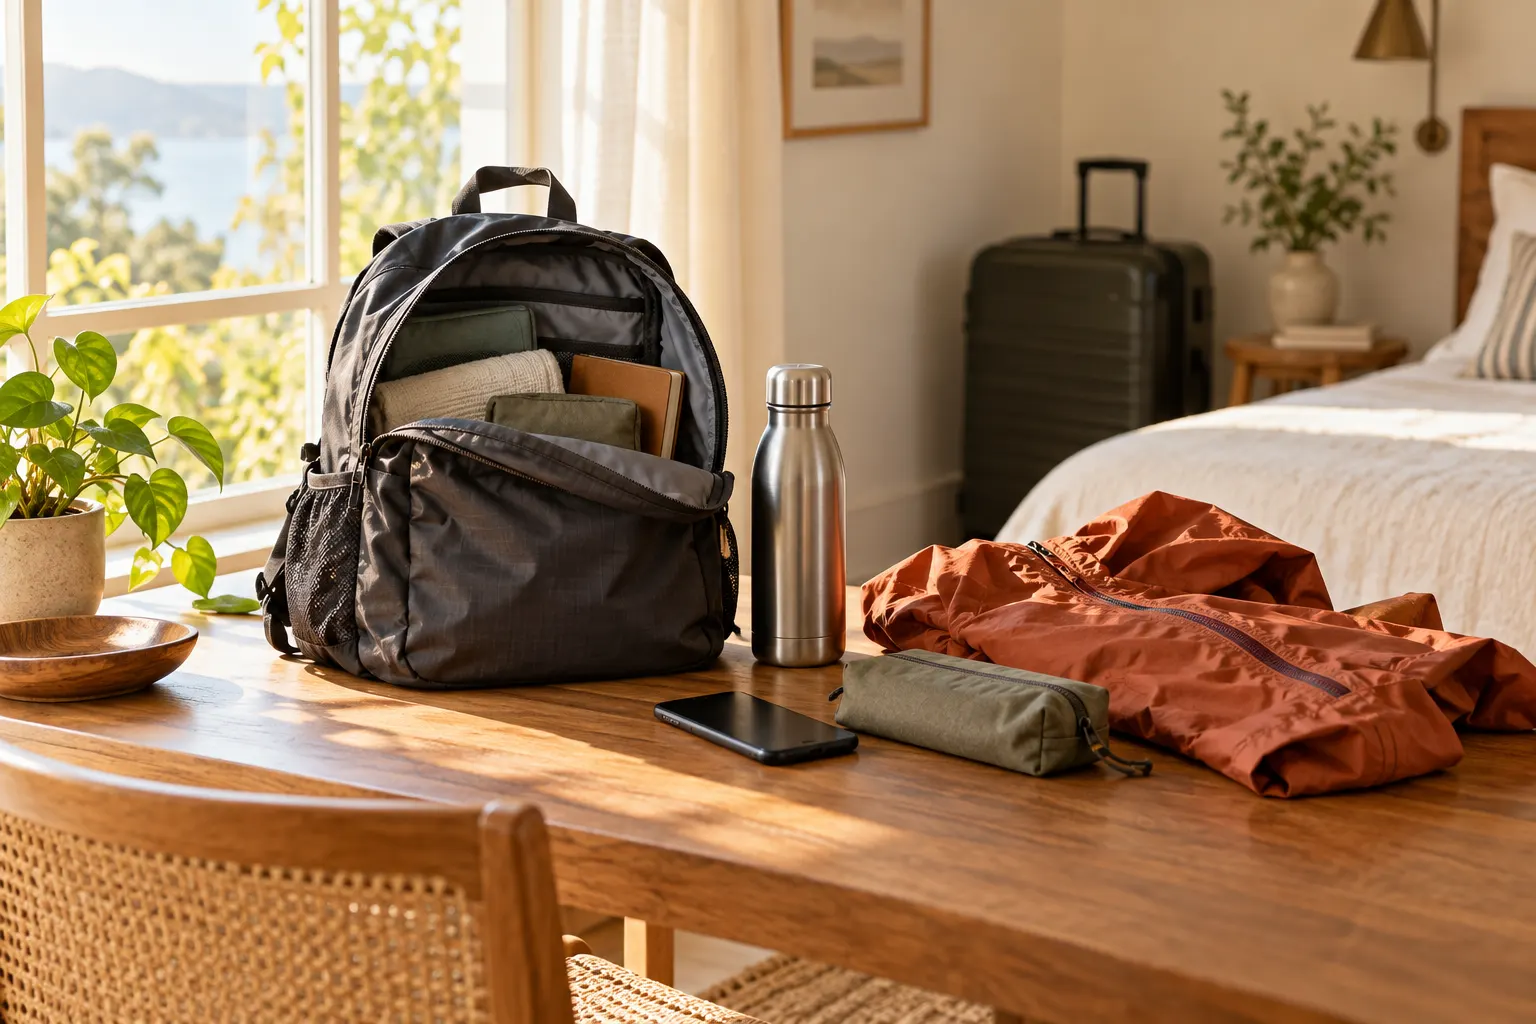
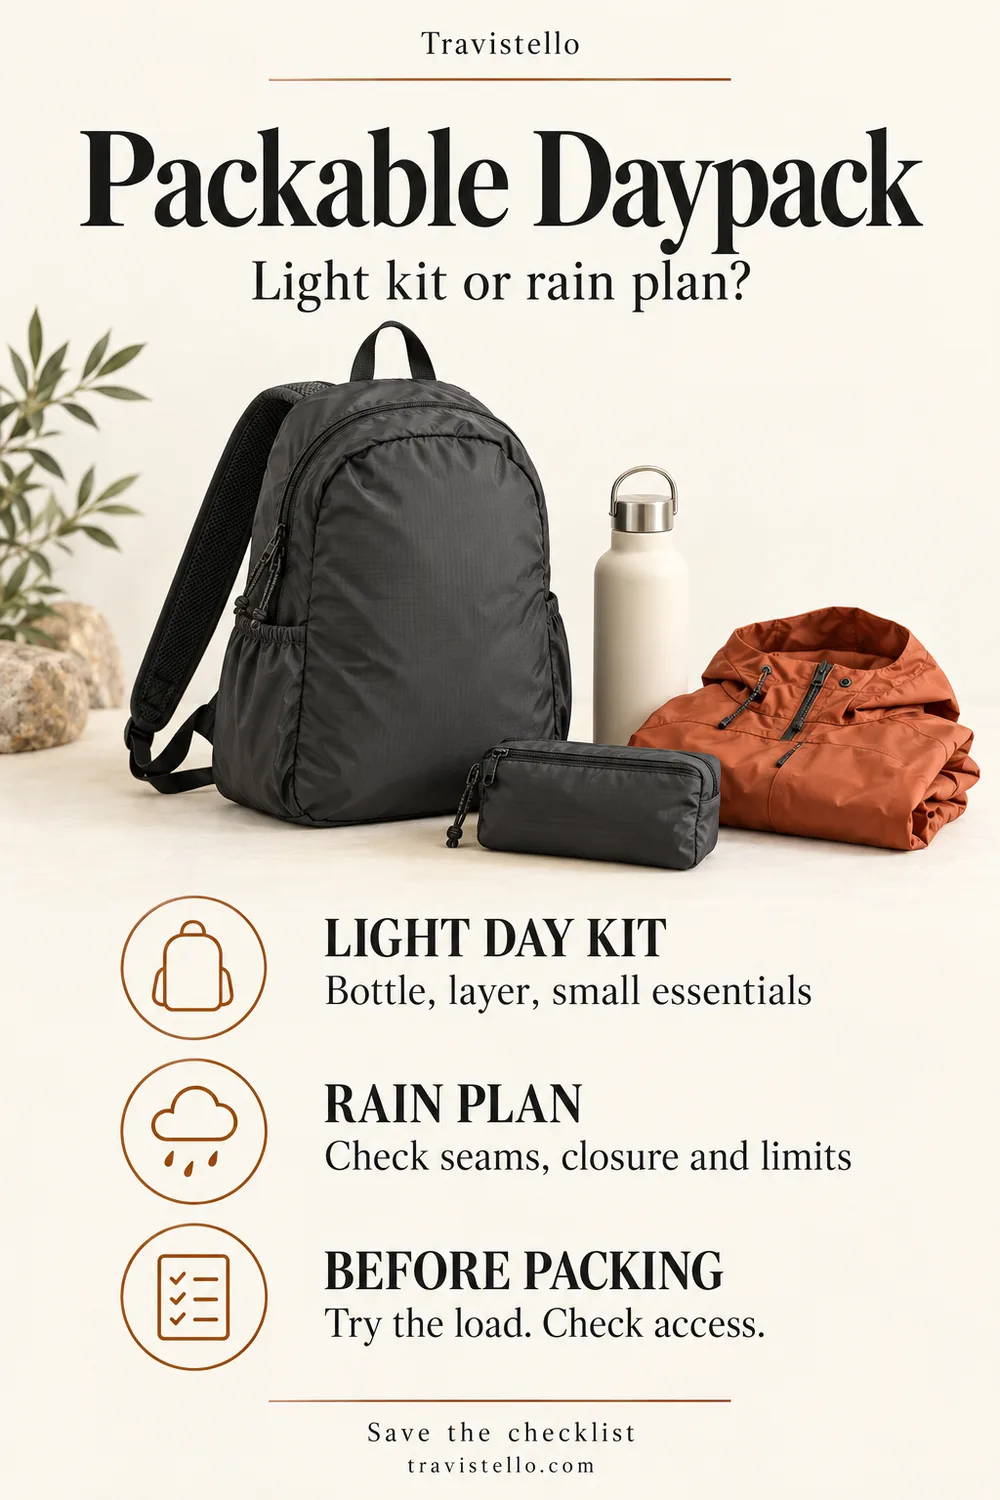
A packable daypack is useful when your main luggage stays at the accommodation and the outing needs a smaller kit. Its defining benefit is the space it takes between uses. That does not tell you how the straps will feel, how quickly you can reach a phone or what happens when rain arrives. Start with the job: a bottle, a layer and a few personal essentials for a modest walk through town. If your existing bag already carries that group comfortably, another purchase may add little. If the whole camera kit or a substantial load is coming, reassess the carry design before choosing the smallest folded bundle. This guide separates three decisions: the day kit, access and carry, and the weather plan.
Choose the job before choosing the bag
- 01
Light day kit
List what leaves the accommodation with you. Include the actual bottle and layer, then decide how to keep smaller essentials accessible.
- 02
Rain plan
Read the complete bag claim, including seams, closure and exclusions. Decide what separate protection sensitive contents need.
- 03
Before packing
Try the intended load, operate the opening and repack the bag. Check the published packed dimensions as well as its open capacity.
Only what the outing needs
Build a light kit before looking at liters
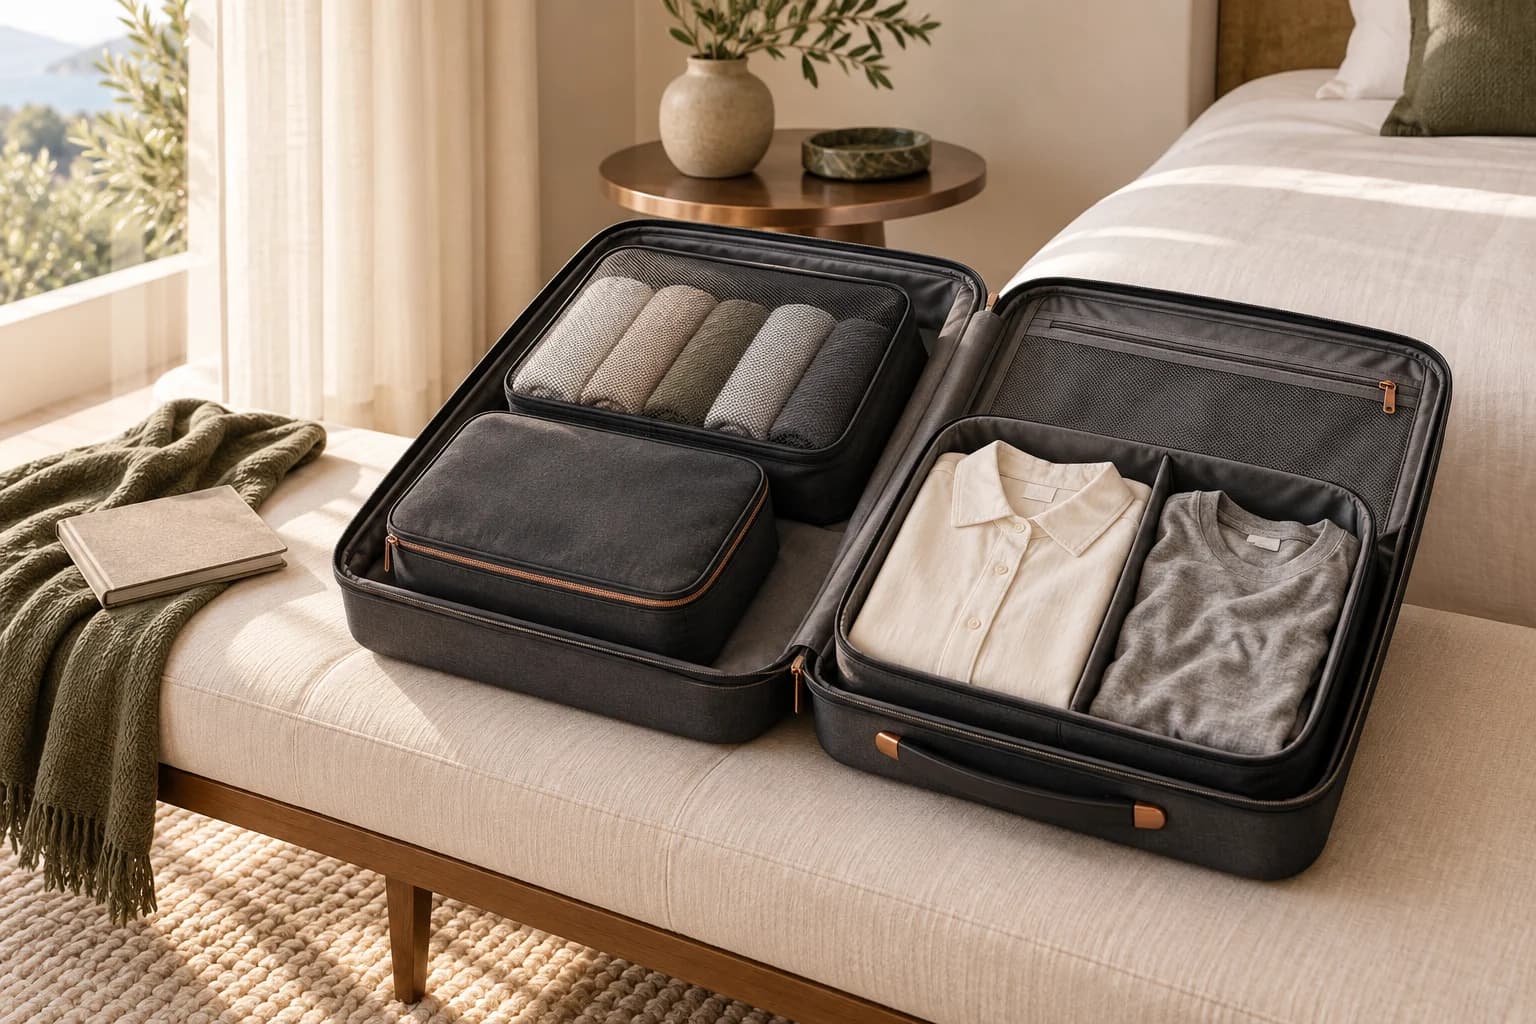
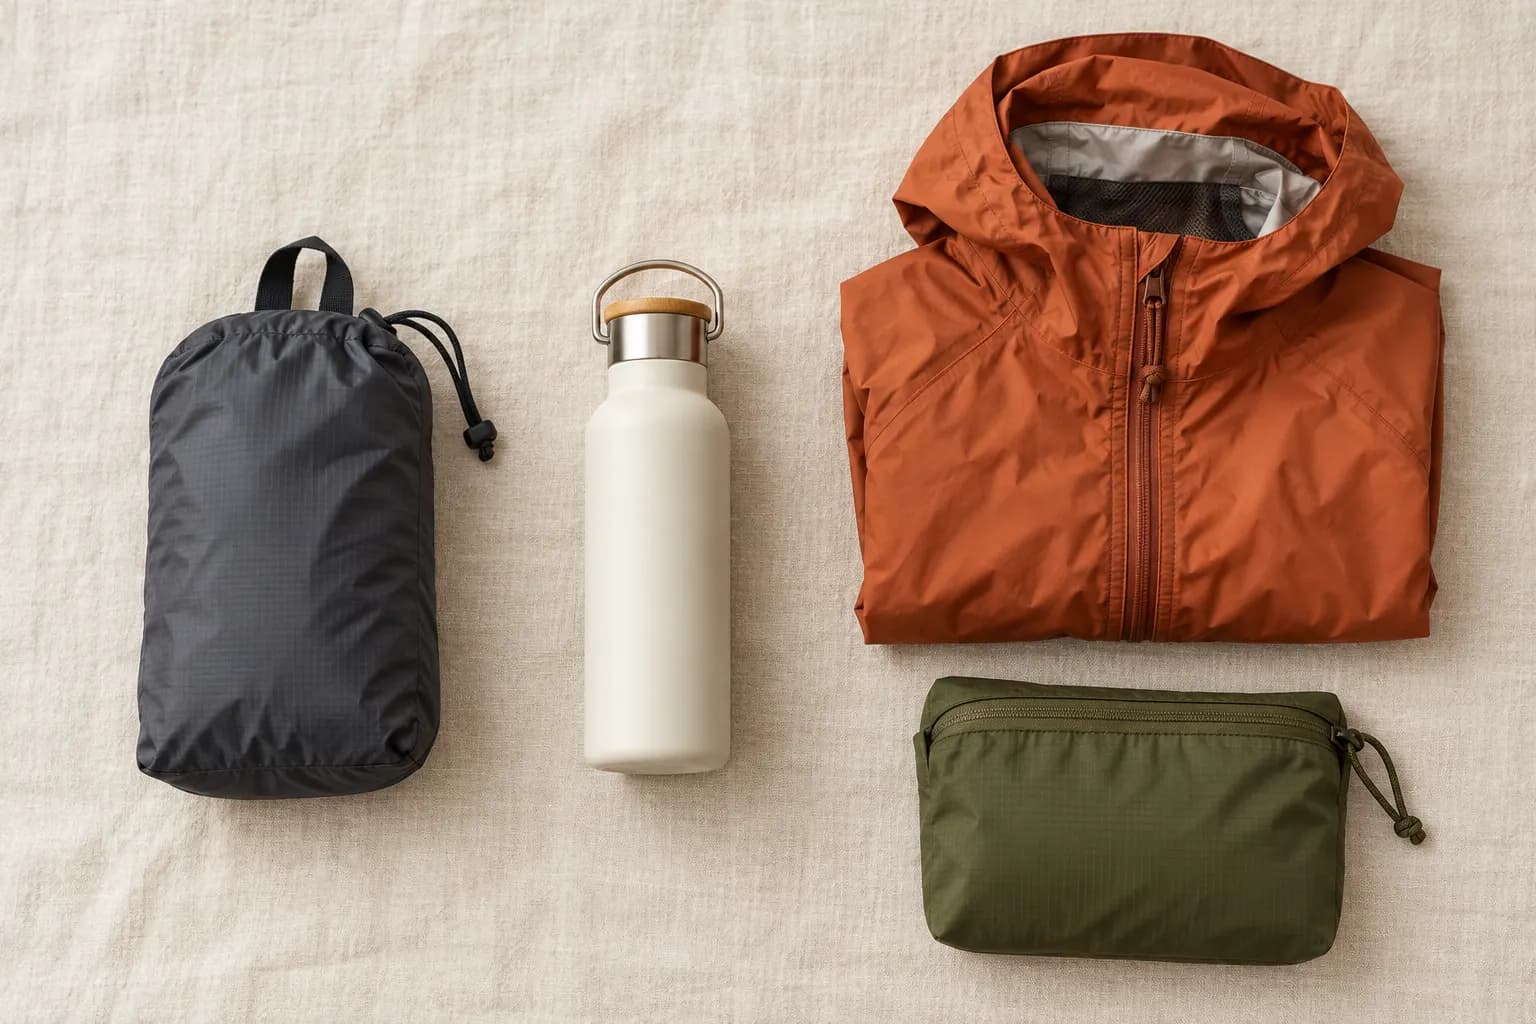
Lay the intended contents on a table and remove items that belong with the main luggage. A spare layer and full bottle behave differently from a nearly empty bag, so use the actual objects when checking fit. Keep keys and smaller essentials in a deliberate place rather than relying on the bottom of one large compartment. Leave enough space to close the bag as its instructions require. Capacity is a published volume reference, not a promise that every object fits conveniently. The packing-cube decision guide addresses grouping clothes inside luggage; a daypack has a different job because you repeatedly open it during an outing. A small removable pouch may make that daily routine clearer without requiring a bag with many separate pockets.

Compact zip access
Use the Ultra-Sil Daypack for its backup role
The Sea to Summit Ultra-Sil Daypack research covers the checked High Rise 20L variant. The manufacturer states 72g for weight and packed weight, an attached stuff sack and a zip-top opening. Its published packed footprint is 5.5 x 10.2 x 18.6cm; open dimensions are 48 x 20 x 28cm without labelled axis order. This is a compact backup reference, with minimal documented separation and non-padded straps. The official weather FAQ calls it water-resistant only: unsealed seams and the zipper can admit water, and a downpour can wet the contents. Choose its zip access and pack-down role with that limit in view. Plan rain-sensitive storage separately, rather than treating waterproof fabric alone as proof that the complete bag keeps everything dry.

Read the complete weather claim
Treat fabric, seams and closure as one system
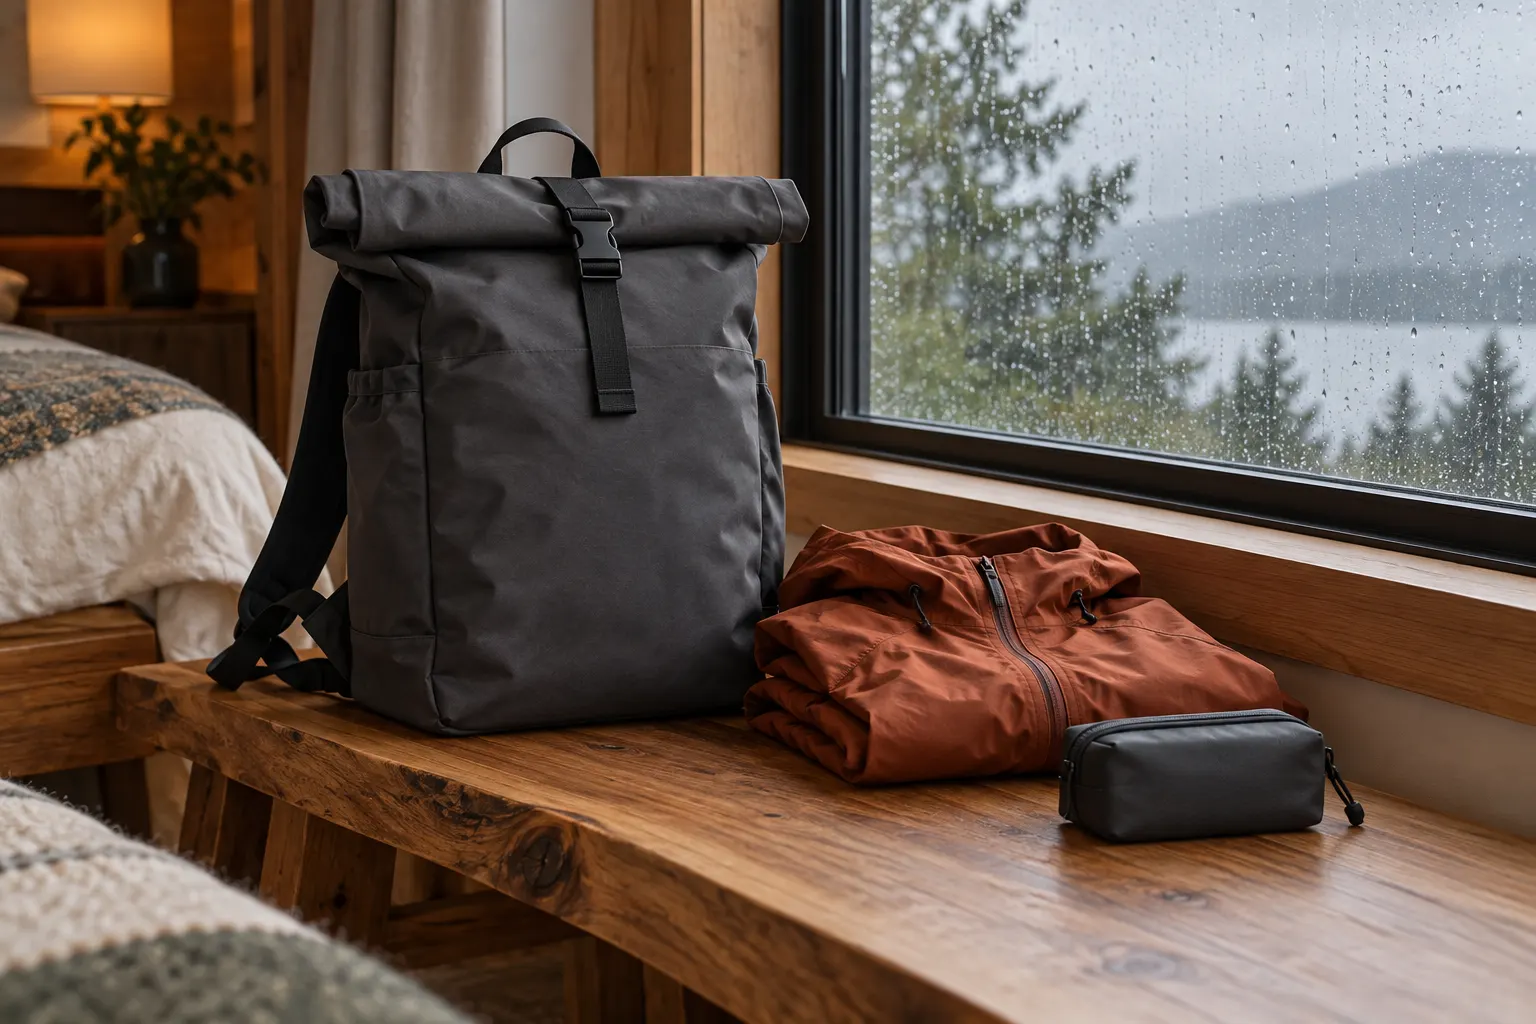
A weather claim about the fabric does not automatically describe every route water can take into a bag. Look for the manufacturer's wording about seams and the opening, then read the exclusions in the same place. A zipper and a roll-top also create different access routines: the practical choice is how often you need something and what closing steps the instructions require. Keep a plan for the contents whose loss would disrupt the trip, using protection appropriate to those items and conditions. A rain claim is not an impact-protection claim. Avoid assuming a bag can be submerged, used for paddling or protect electronics unless its documentation actually supports that use. Check the forecast and the outing again on the day rather than relying on an accessory name.
Roll-top weather construction
Choose the Dry Daypack within its stated limits
The Sea to Summit Ultra-Sil Dry Daypack research covers Blue Atoll 22L. Its stated weight and packed weight are 110g, and its packed size is 5.3 x 14.3 x 19cm. The published open dimensions are 30 x 22 x 48cm, with no labelled axis order. Taped seams and a double roll-top are the relevant construction differences. The manufacturer says it withstands heavy rain, while excluding paddle sports and submersion. Follow its closure instructions and consider how that opening fits repeated access. The pack and straps are unpadded, and the manufacturer advises loads above 7kg only for short durations. That guidance is not a personal comfort result or a target load. Choose it when this specific weather design fits a modest kit, rather than making it the default for every trip.

Carry the actual load
Check access and straps with your day kit
Before committing, use a permitted try-on or return arrangement and place the intended load inside. Check whether the straps adjust appropriately, how the bag rests and whether reaching smaller items disrupts the rest of the kit. Revisit a full bottle and any bulky layer because those are part of the outing, not optional details in a fit check. The messenger-bag versus backpack guide explores a broader city carry decision if a one-shoulder bag, structured backpack or your existing carry already makes more sense. The existing Matador 18L packable backpack research offers another published design reference, with its own verification dates. Keep those dates visible and compare the actual features rather than ranking bags by how small they appear in a photograph.

Different carry and protection needs
Keep tote, camera and airline decisions separate
A packable tote can suit a different access and carry routine; the existing Eagle Creek packable tote research is a useful reference if hand carry is what you need. A camera adds another decision about protection and handling. The travel-photography packing guide covers power, backup and camera organization, while the daypack's rain wording does not establish padding or protection against a drop. Likewise, a bag used around town is not automatically an accepted airline personal item. If it will be your flight bag, consult the actual airline's current allowance and measure the packed bag. A manufacturer capacity figure cannot resolve airline dimensions. Keep each requirement attached to the use that creates it, and choose a different bag when those combined requirements need more structure.
Check the kit before the next outing
- 01
Contents and access
Confirm the essentials group, close every pouch and operate the main opening according to the instructions. Keep needed items in a deliberate accessible place.
- 02
Weather and carry
Review the actual day's conditions and protection needs. Recheck the loaded straps and reduce or change the kit when carry is unsuitable.
- 03
After the outing
Follow the bag's care instructions and let damp items dry appropriately before storage. Repack it only when the condition and storage method allow.
Sources and next decision
Buy for the trip you actually have
Official product pages and FAQs checked October 12, 2026: seatosummit.com and seatosummit.com. Warranty conditions are published at seatosummit.com. The observed US offers were USD 49.95 for High Rise Ultra-Sil and USD 69.95 for Blue Atoll Dry; shipping eligibility and totals can change. Each product record preserves its exact selected variant, source date and qualified weather wording. Related older product research keeps its original verification dates. The room and kit images here are original conceptual illustrations; named product photographs come from the manufacturer. Start with an existing suitable bag, and add a packable alternative when its storage benefit solves an actual trip need. The most useful choice leaves the day kit easy to carry, close and manage.