In this guide
Clean clothes during a longer trip
Make the drying window your first decision
Travel laundry is easier to plan when the next departure is part of the decision. Washing a garment is only one stage; you also need a permitted place and enough opportunity to finish drying it. A small load can be manageable during a longer stay, while a full bag of clothing may suit a laundromat or service better. Start with the items you need next and read their labels before choosing a method. This guide covers laundry in accommodation or an established laundry facility. Check the actual property's rules, available equipment and your own schedule. The goal is a workable routine you can repeat, with clothes ready for the next part of the trip, rather than a fixed collection of must-buy accessories.
Choose the method before shopping for a kit
- 01
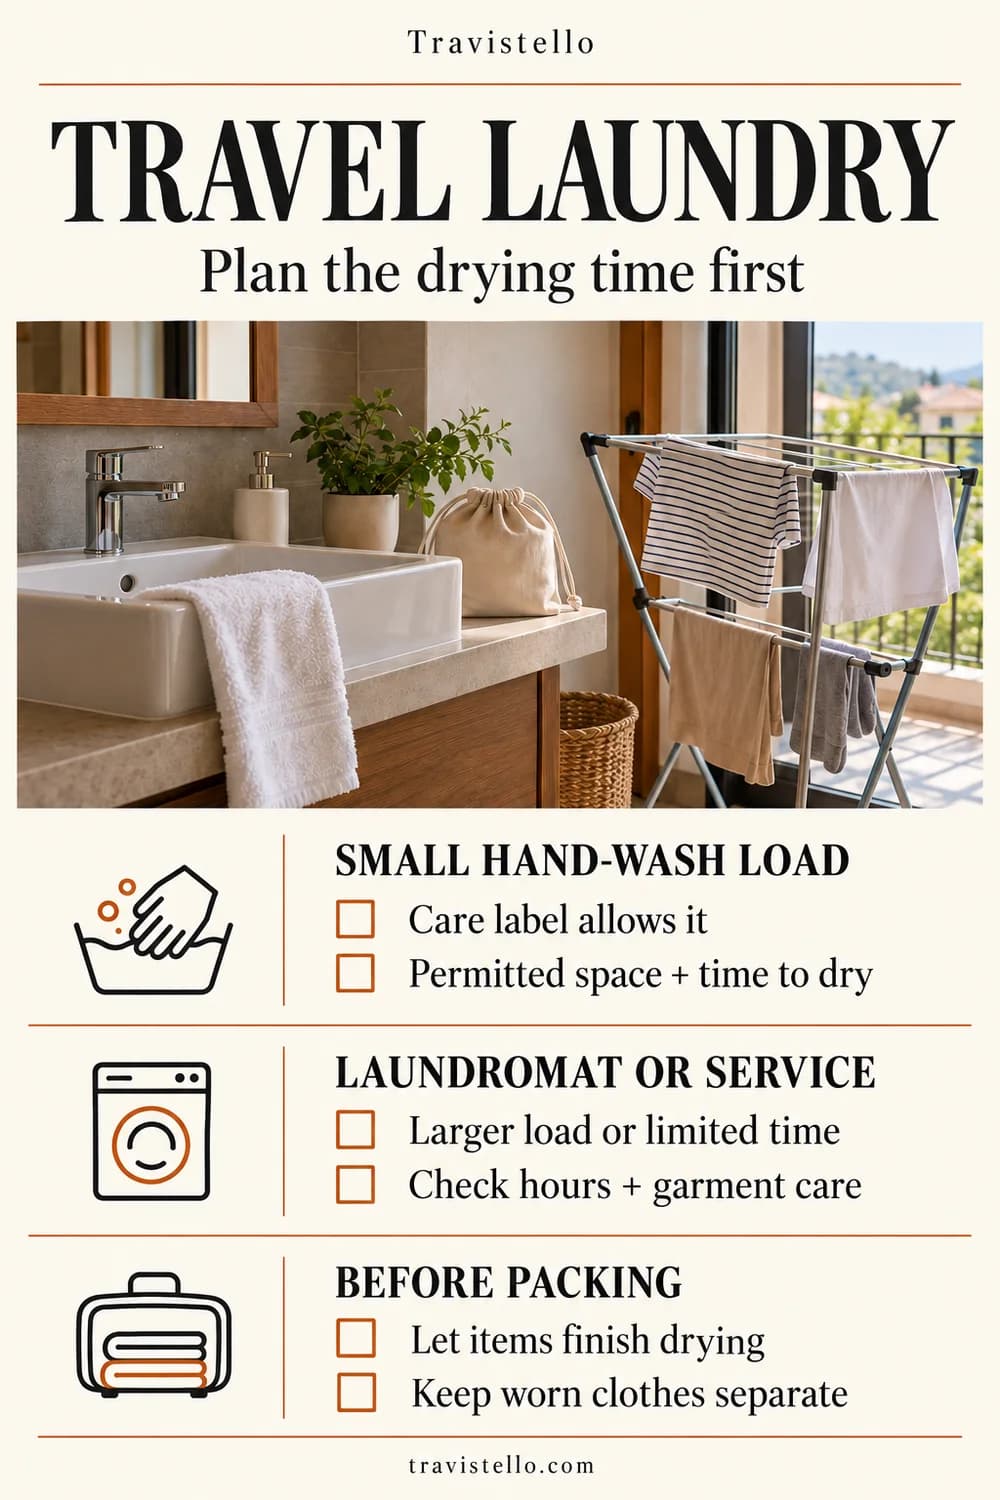
Small permitted hand-wash load
Use this option when the garment label allows it, the accommodation permits the activity and there is a suitable drying arrangement before departure.
- 02
Laundromat or accommodation machines
Consider a larger load or limited time. Check opening hours, equipment, payment and the cycles that suit each garment, including how drying will be handled.
- 03
Laundry service
Check the return time, care options and collection arrangements before handing anything over. A promised service window must fit your next move.
- 04
Wait for a better stop
If the care instructions, facilities or drying plan do not work, keep dry worn clothing separate and plan a suitable laundry stop later.
The label controls the method
Read washing and drying as separate instructions
A garment that can be washed in water does not necessarily suit every temperature, detergent, machine cycle or drying arrangement. Read the full label, including instructions about wringing, heat, line drying and drying flat. REI's fabric-care reference is a useful visual aid when a symbol is unfamiliar; the garment manufacturer's instructions remain your reference. Group only items that can share the proposed method. Set aside special-care clothing for an appropriate service or a different routine. Keep the first attempt small enough to manage without occupying shared space for the whole stay. The practical question is whether your specific items and the facilities work together, not whether a travel accessory advertises a fast result.
A modest wash group
Keep a small hand-wash load manageable
Confirm that the sink or basin may be used, then prepare the supplies and drying space before wetting the clothing. Use a suitable cleaning product and follow its label together with the garment's instructions. Handle the fabric accordingly, rinse as required and avoid twisting an item whose label says not to wring it. Keep the surrounding counter and floor usable. A smaller load is easier to rinse and arrange than several heavy items competing for the same basin. If the available setup cannot handle the load properly, a laundry facility may be the more practical choice. Finish by cleaning up the area, keeping the necessary surfaces dry and returning anything the property provided to its proper place.
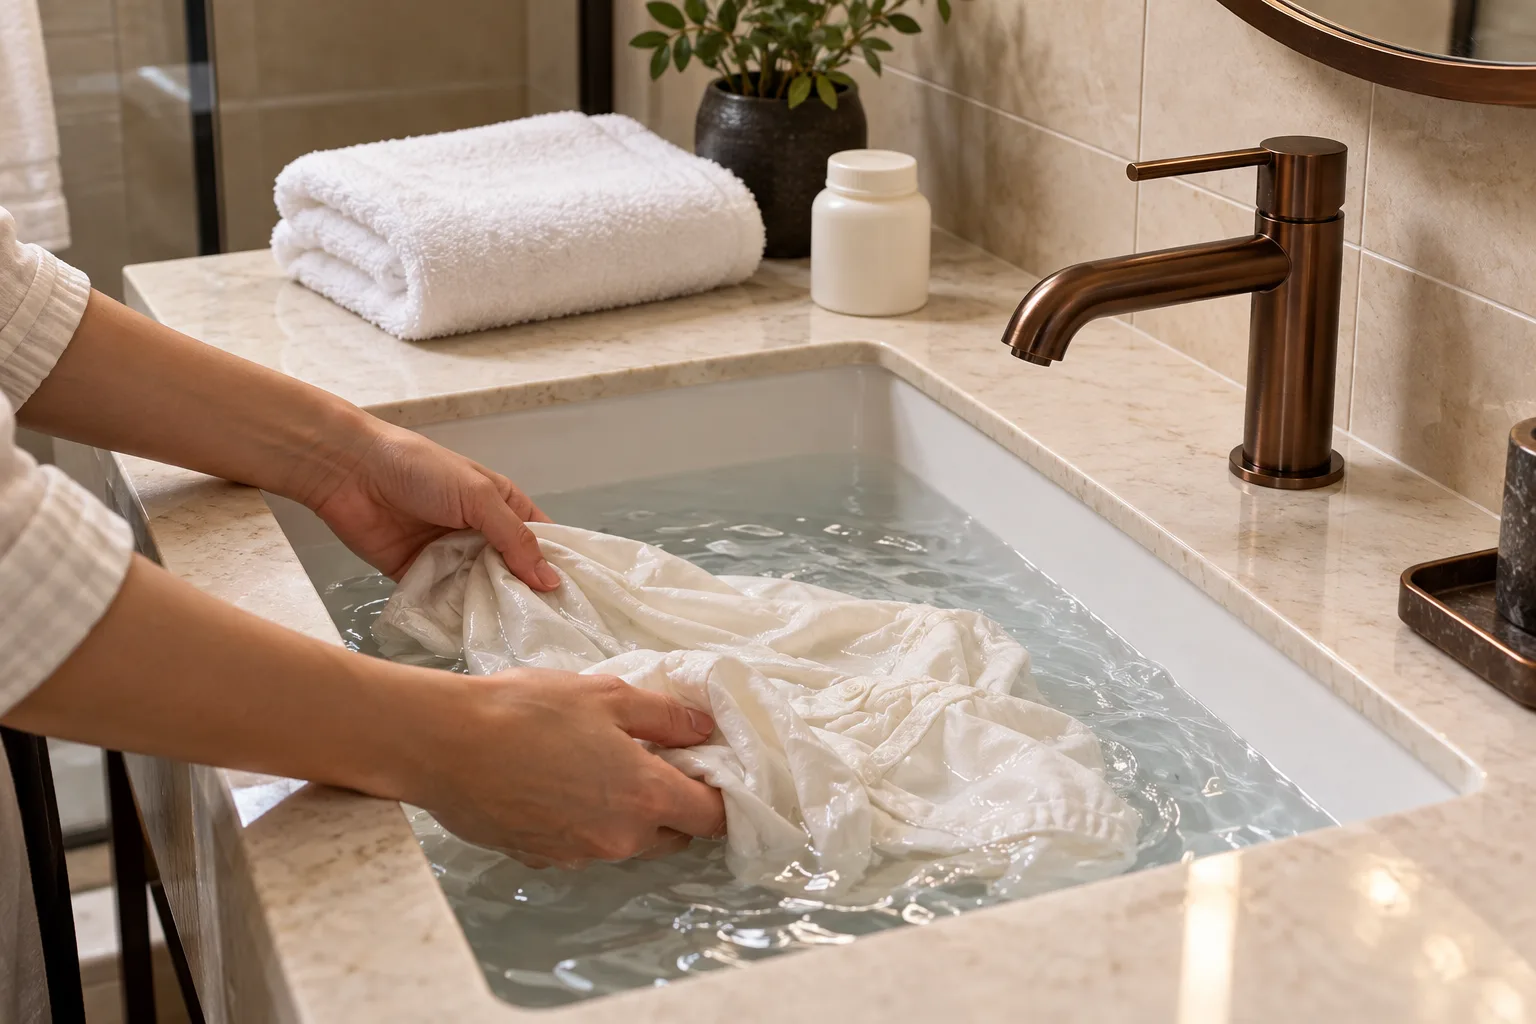
Remove water with care
Use a suitable towel only when the care labels allow
A clean suitable towel can help with gentle blotting when the garment's instructions allow that handling. Ask before using an accommodation's towel for this purpose, particularly with clothing that might release dye. The Sea to Summit Airlite Towel research gives a separate personal-towel reference: the checked Medium variant has its own open size, packed footprint and care requirements. That does not establish that it is the right blotting towel for every garment. Your ordinary clean towel may already do the job. After using a towel, arrange its own drying time as well. Packing a wet towel tightly inside its pouch does not create the space it needs to dry, so include it in the same departure check as the clothing.

Drying needs an actual place
Match the drying setup to the garment and room
Use the drying method on the label and the space the accommodation allows. Some items can hang, while others need a flat arrangement. Keep doors, shared walking routes and the floor clear. If a travel line is appropriate, the Sea to Summit Clothesline research records its stated span and storage footprint. Choose suitable permitted attachment points and follow the supplied instructions; do not make a room fixture the experiment that tests an unfamiliar load. The product is an accessory for a confirmed setup, not permission to hang clothing anywhere. Leave space between items as the arrangement allows and check progress before the next move. Fabric, retained water and the room conditions vary, so no universal overnight-drying promise replaces an actual check.

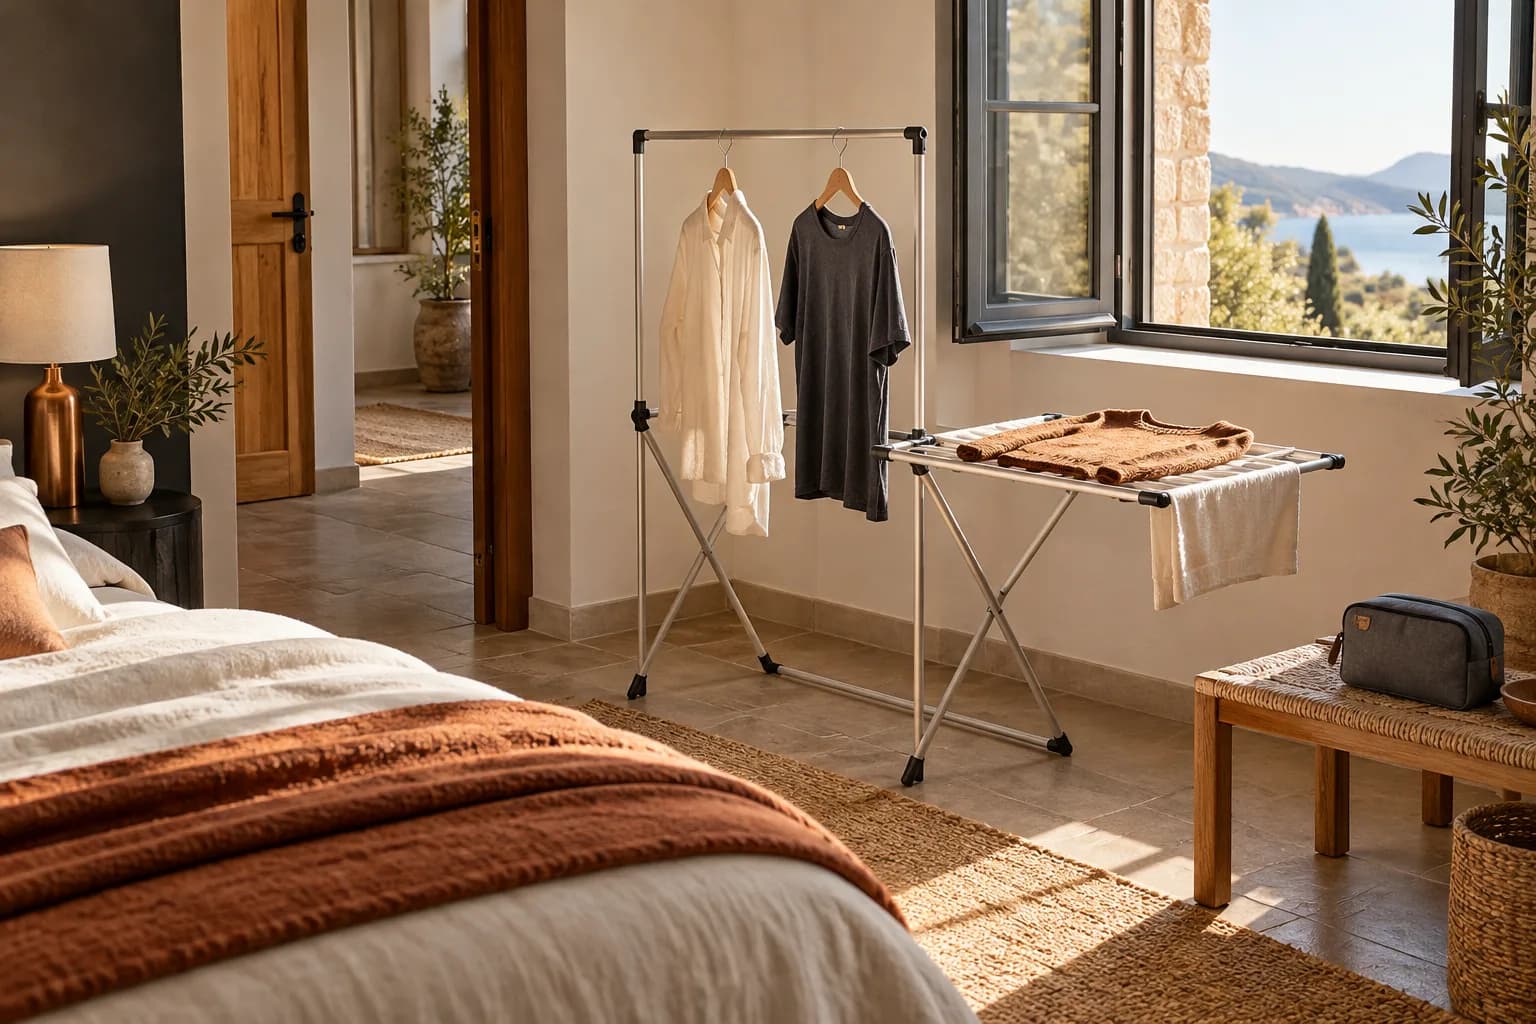
When a larger load makes sense
Check the full laundromat or service window
Look at the amount of clothing and the usable time at your current stop. Verify the laundry facility's opening hours, machine availability, payment method and any supplies it requires. Include the drying stage and the journey back to your accommodation in that plan. Sort garments according to their care instructions instead of choosing one cycle for everything. If you use a service, confirm how special-care items will be handled and when the load can actually be collected. Keep the collection information accessible, especially when your next departure is close. A larger organized wash can be more convenient than repeating small loads, but a service that finishes after you leave is a poor fit for the itinerary. Choose the method around the real window you have.
A separate route for worn clothes
Give dry worn clothing its own group
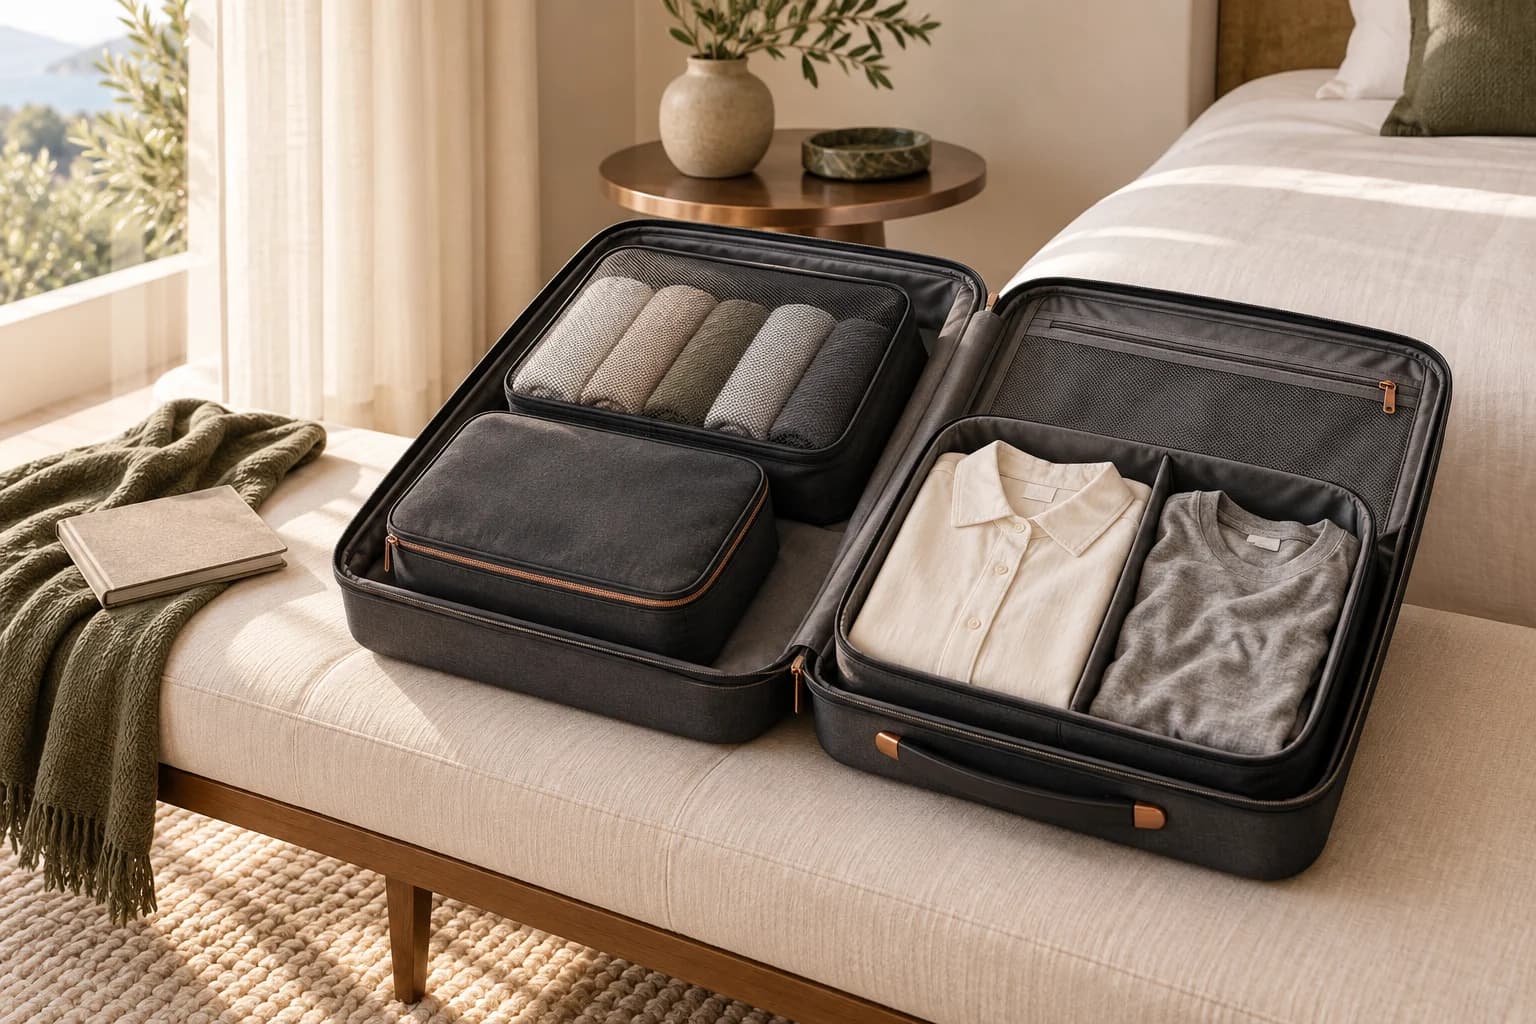
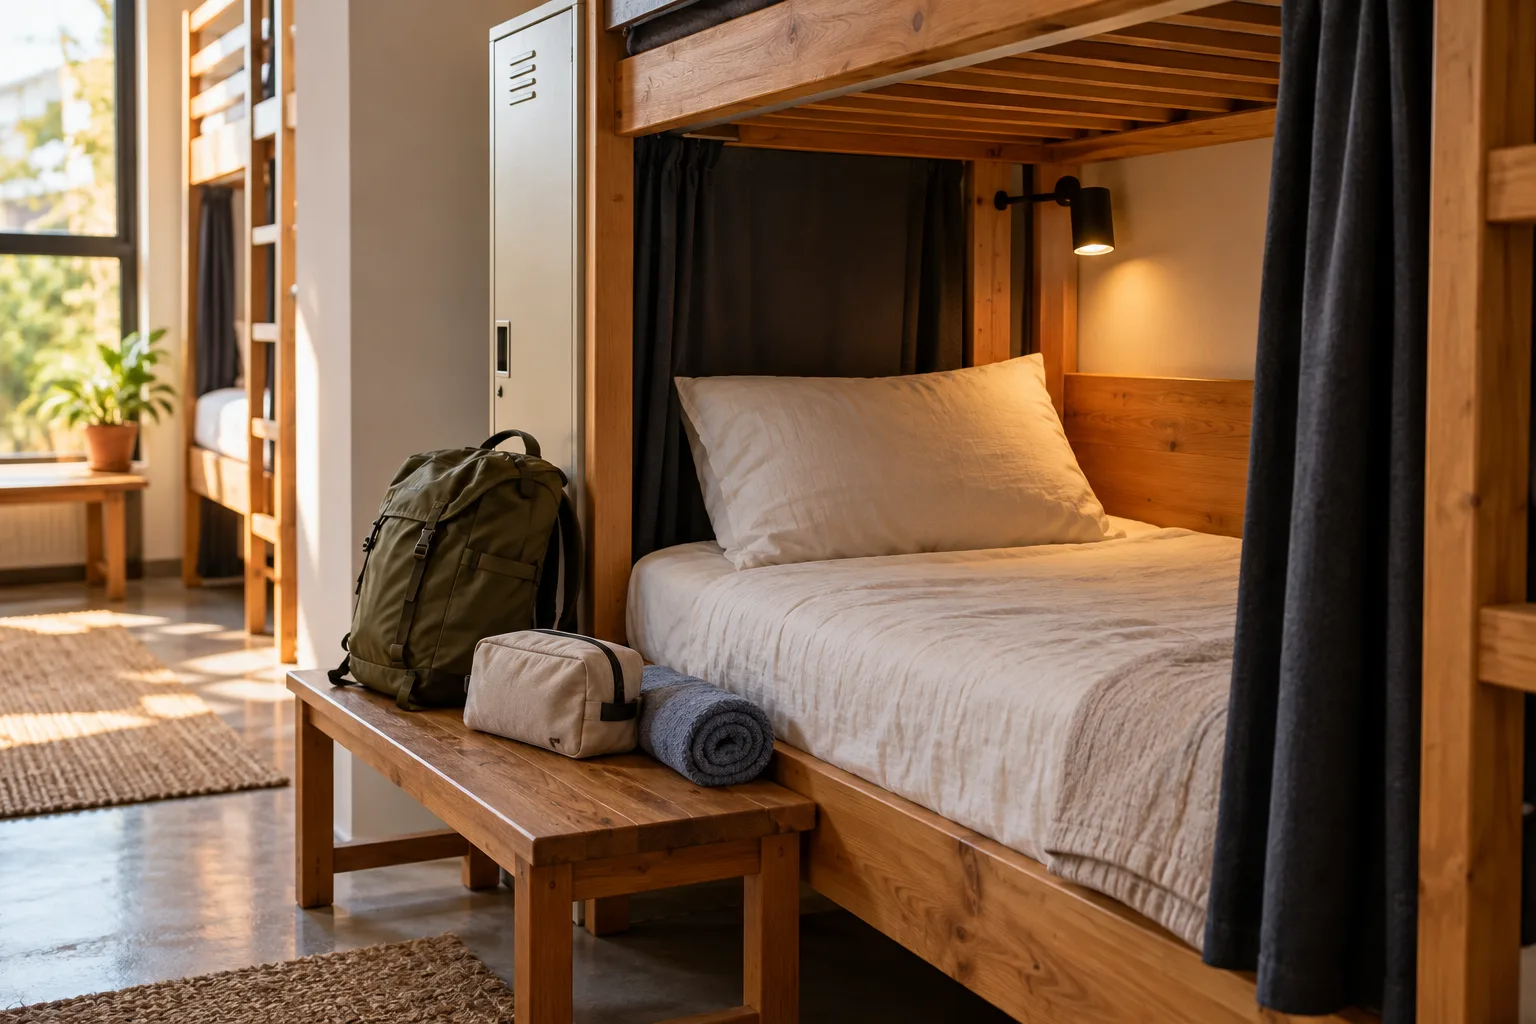
The existing Eagle Creek Packable Laundry Sack research covers one removable worn-clothing group. The Eagle Creek Pack-It Isolate Clean/Dirty Cube M research is another reference for separating clothing groups in a bag. Their earlier verification dates remain visible; neither is treated here as a laundry machine or a guaranteed odor-proof seal. Keep dry worn clothes apart from the clean group, and give damp items an appropriate temporary arrangement until you can dry them. The packing-cube decision guide helps you decide whether a removable group or a split compartment serves your trip better. For a shared room, the hostel packing guide covers a different bedside and quiet-arrival routine. Laundry should leave that shared space usable for the people staying with you.


Check the load before packing again
- 01
Clothing and towel
Check that the items have finished drying as required before closing them inside luggage. Revisit any garment that still needs an appropriate drying arrangement.
- 02
Equipment and room
Collect the line, clips or pouch, check the bathroom and drying area, and leave fixtures and shared routes in their proper condition.
- 03
The next laundry stop
Note the method that worked, the supplies you used and the practical time it required. Use that experience to make the next small kit more useful.
Sources and next decisions
Keep the laundry plan specific to your stay
References checked on October 11, 2026: fabric-care symbols at rei.com, packing-light laundry planning at rei.com and clothing/blotting guidance at rei.com. New accessory records use the official Sea to Summit product pages and linked warranty policy. The checked US offers are USD 19.95 for Medium Beluga Airlite and USD 16.95 for the Clothesline; merchant totals and shipping eligibility may change. For the small personal-care containers you carry separately, the toiletry packing guide addresses a different organization task. These accommodation scenes are original conceptual illustrations; named product photos are official manufacturer images. Keep the garment instructions and the actual property's rules at the center of the next laundry decision.