In this guide
Start with the journey
Choose the transport plan before the bag
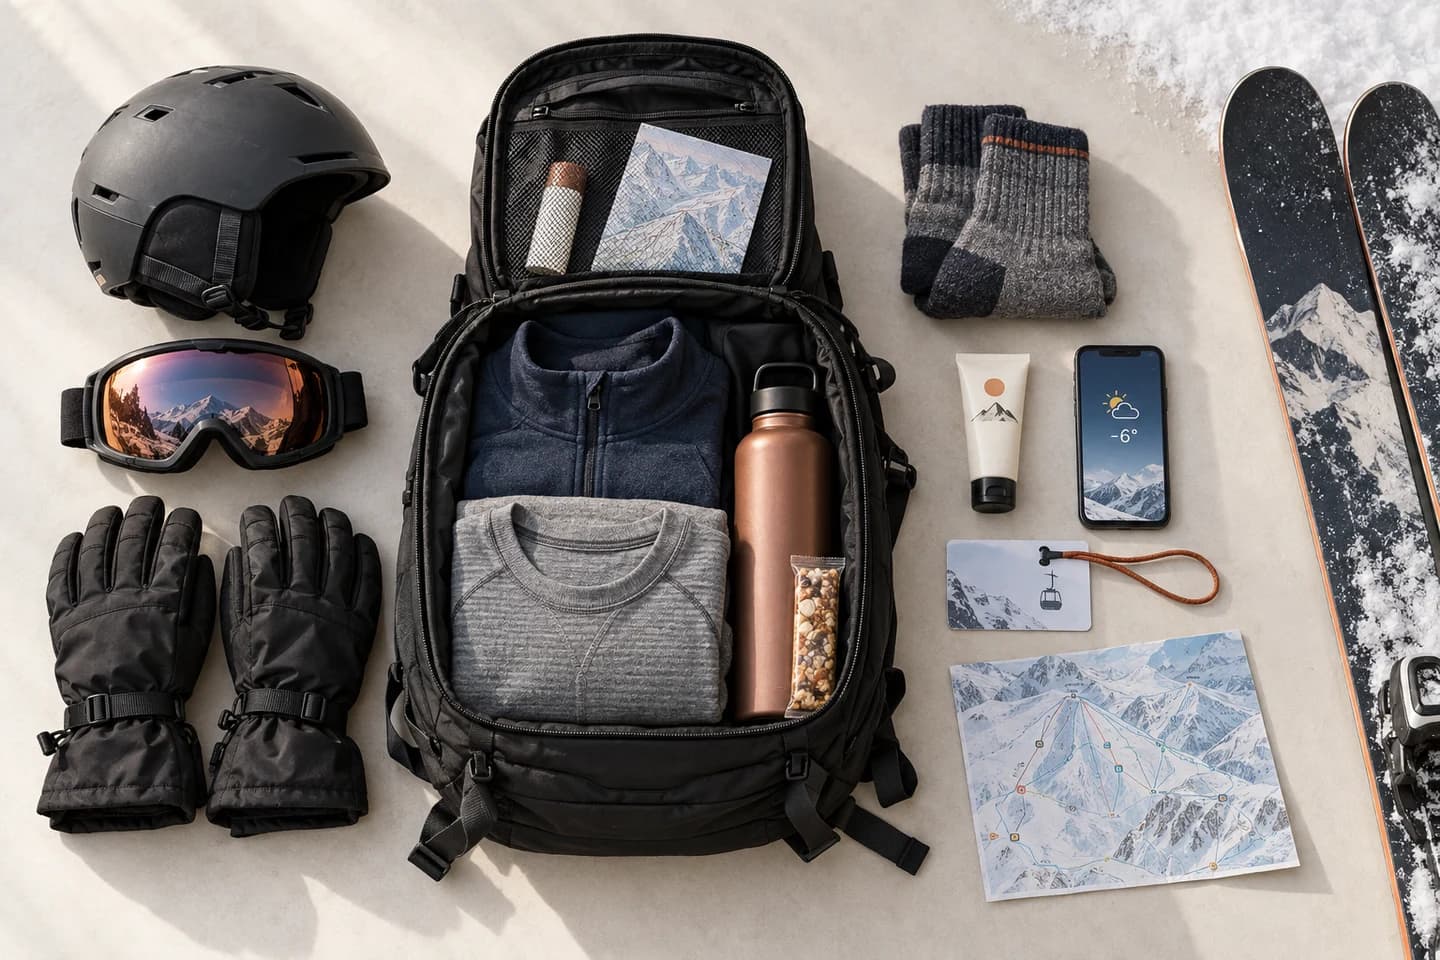
A ski boot bag earns its space when it makes the journey easier: carrying your own boots, keeping a helmet and small accessories organized, and moving the kit between home, transport and accommodation. Start by deciding which equipment is coming with you and which will be hired at the resort. A traveler collecting rental boots after arrival has a different problem from someone taking a familiar pair through an airport. Then map the transfers: car boot, station stairs, coach luggage compartment or an airline check-in desk. Choose the container around that sequence. This guide focuses on equipment transport and the arrival routine. For clothing layers and the wider resort checklist, read travistello.com before deciding what belongs in this bag.
Make three checks before buying
- 01
Actual equipment fit
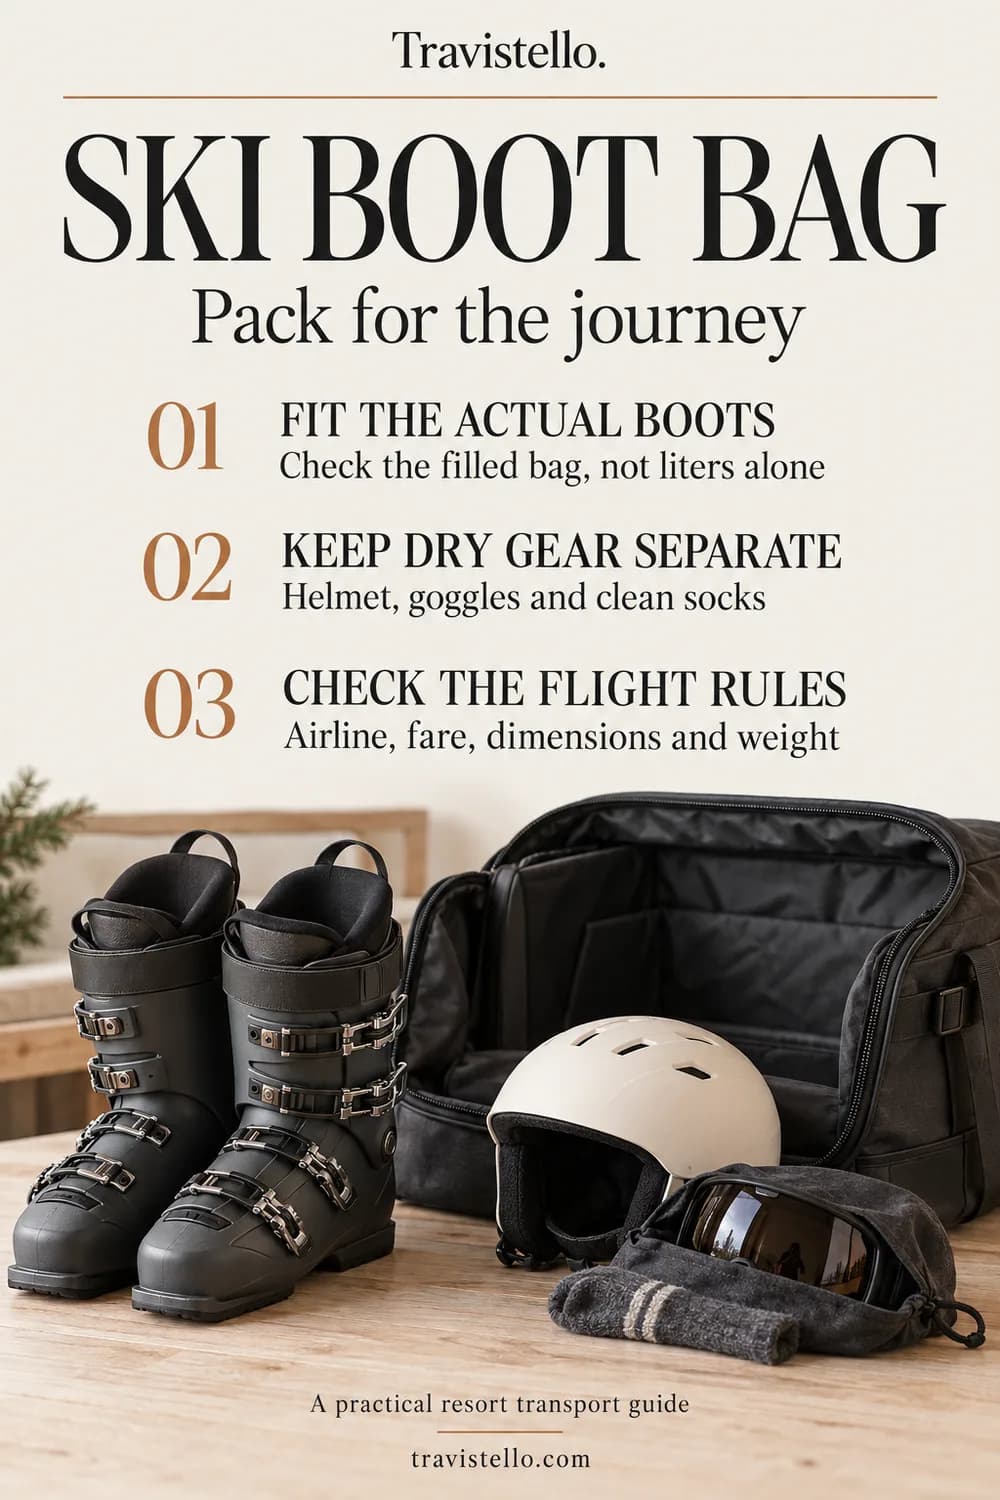
Use your own boots, helmet and accessory cases. Published liters alone cannot tell you whether that particular combination fits.
- 02
The travel route
Check the filled bag's dimensions and weight against each operator's current allowance and your booking. Exterior straps and bulging pockets count.
- 03
Dry and damp separation
Keep clean socks and sensitive accessories away from wet boot soles. Have a permitted place to open and dry equipment after arrival.
Fit first, capacity second
Try the boots and helmet as a complete kit
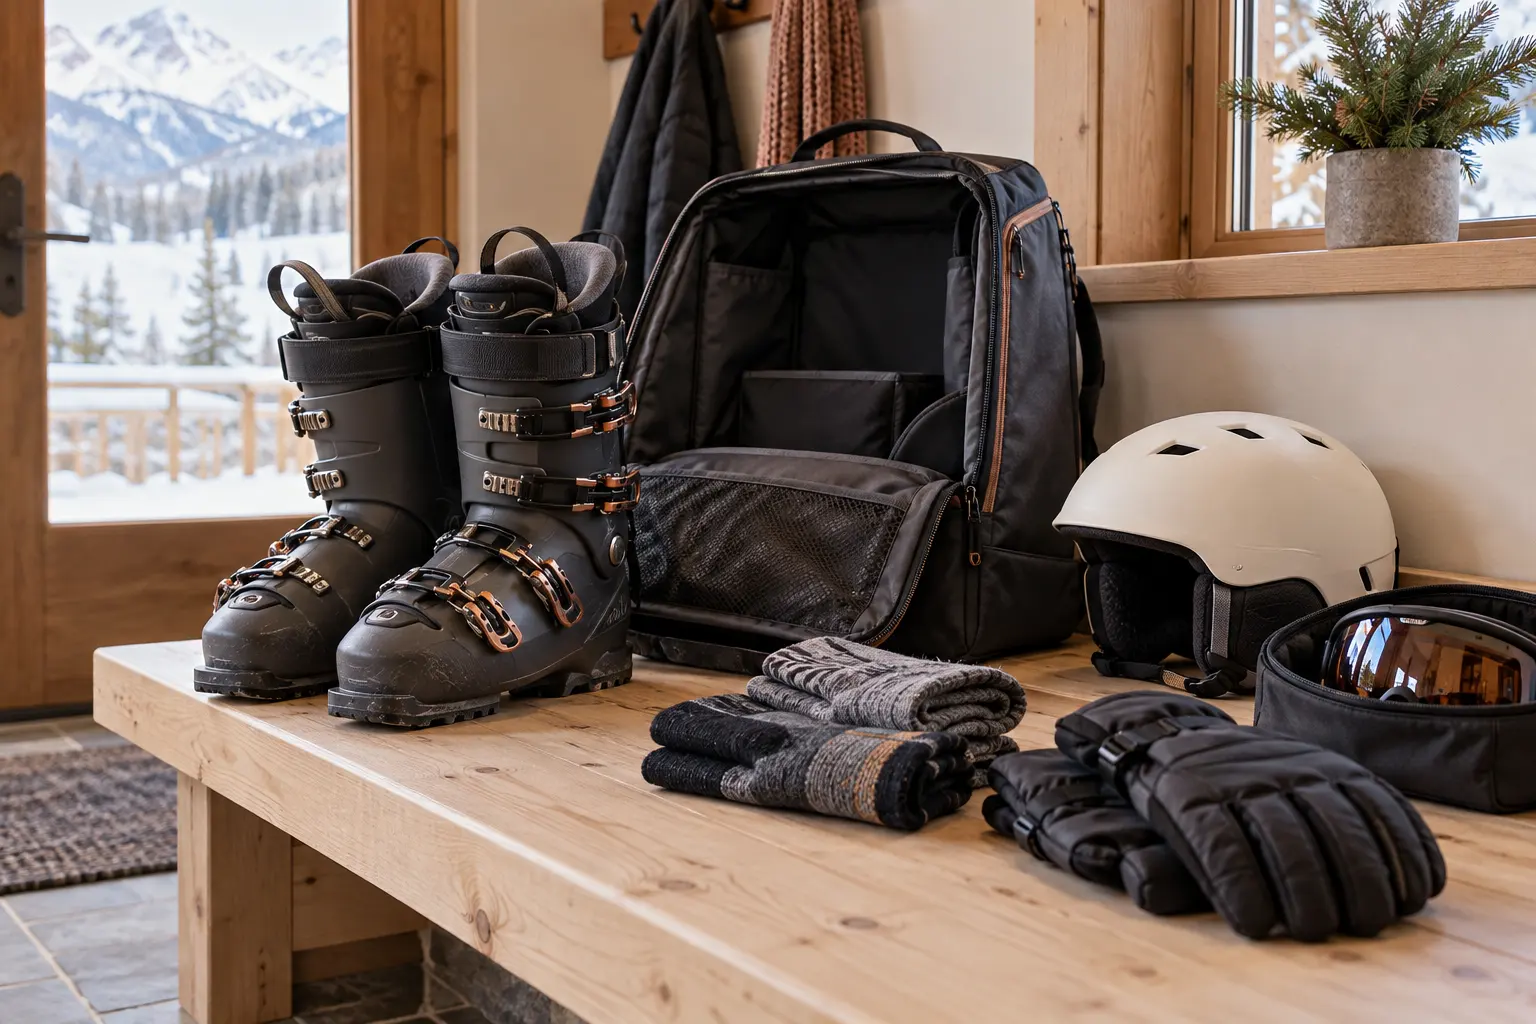
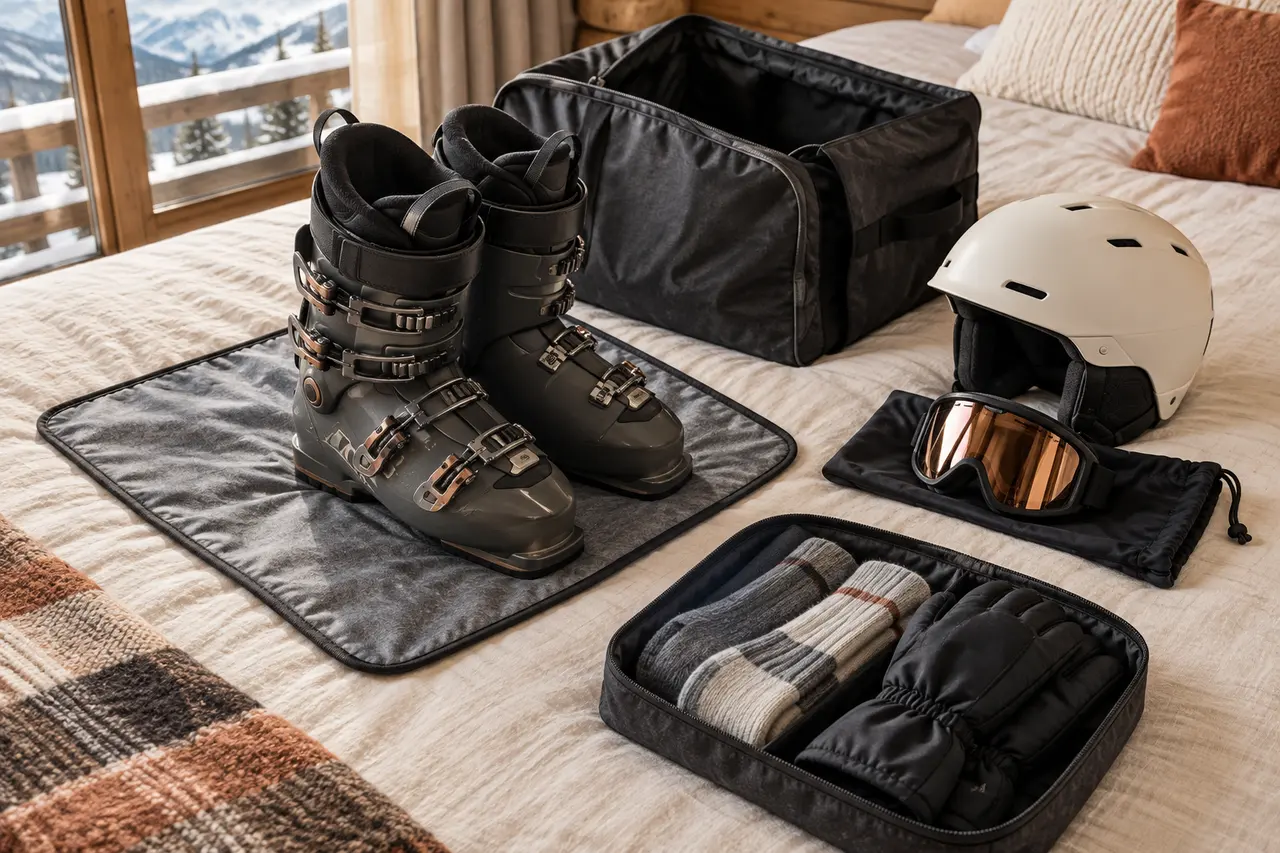
Set out both boots in their intended transport condition and follow their manufacturer's handling instructions. Place the helmet in the compartment intended for it and keep goggles in appropriate protective storage. Then add the gloves, clean socks and small items you truly need at the changing point. Check whether the bag closes normally without forcing zippers or pressing equipment together inappropriately. A larger stated capacity is useful only if the extra space solves an actual packing problem. Check the carry routine too: can you put the bag down, retrieve one item and close it again while handling your other luggage? A comfortable empty showroom bag does not settle loaded comfort. Use the actual filled setup on a short familiar walk before departure.
Flying needs a separate decision
Check cabin dimensions against the operating airline
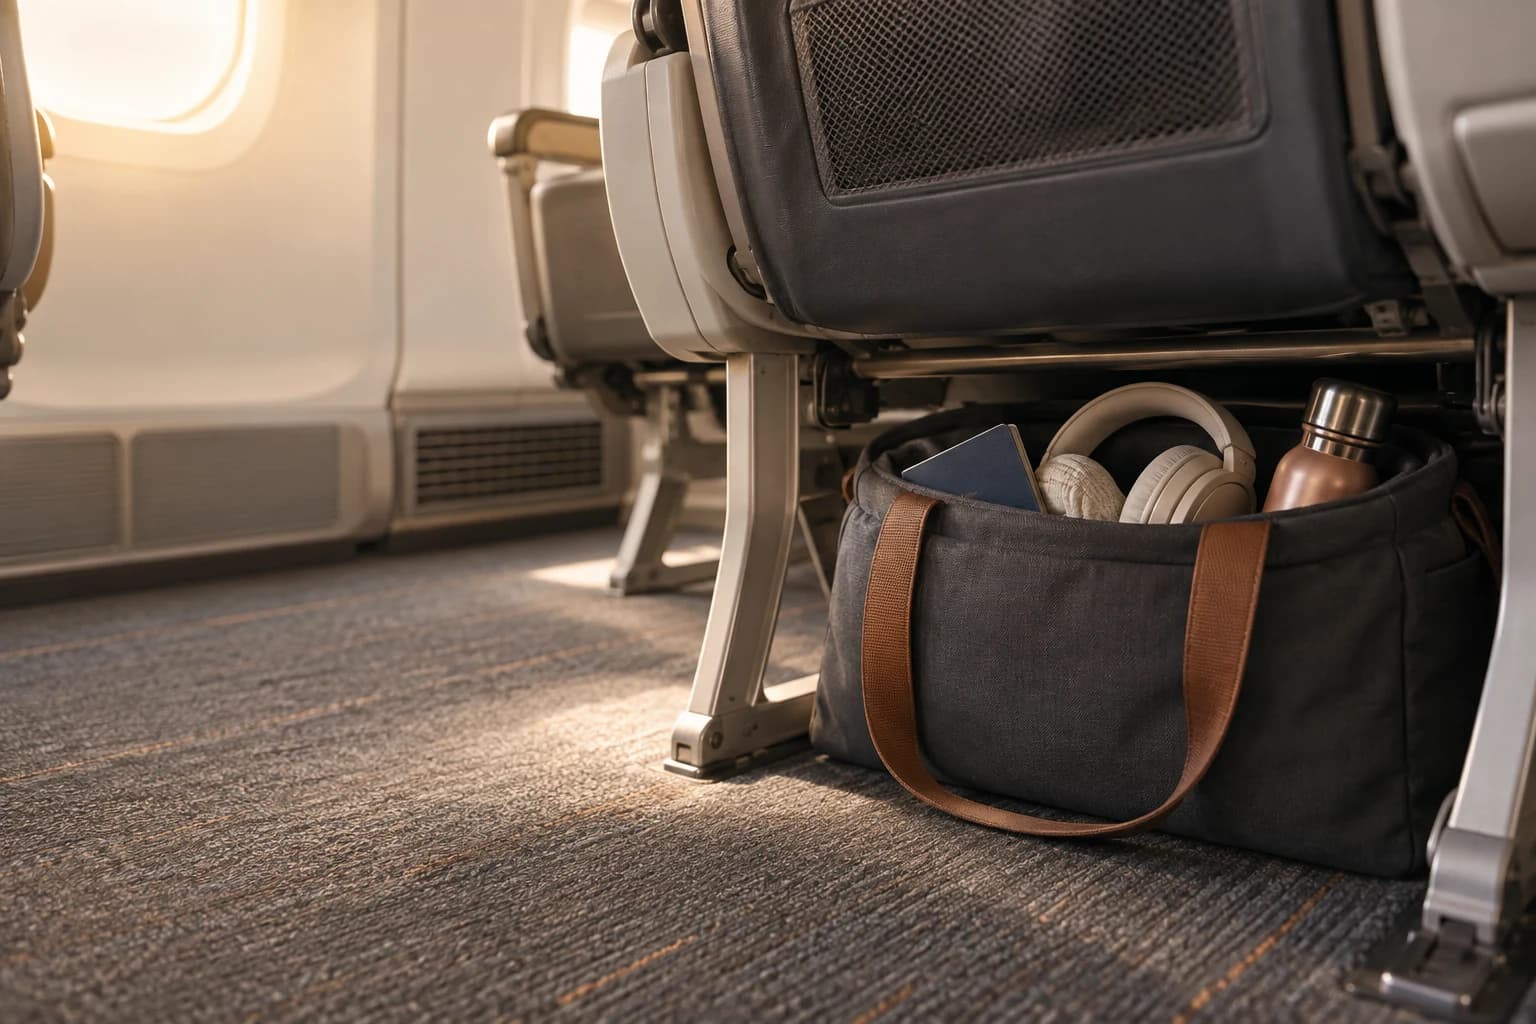
The words boot bag do not create a cabin allowance. British Airways explains that a separately packed boot bag may travel as the larger piece of hand baggage when it fits the correct dimensions; otherwise it must be checked and can count as an additional checked bag. Read its current guidance at britishairways.com and the allowance attached to your own booking. Other operators and fares can differ. Measure the filled bag across its widest points, including anything projecting from the outside, and weigh the whole load. Do not infer airline acceptance from a product's general cabin-friendly wording. The personal-item sizing guide covers the separate under-seat question; a boot backpack is not automatically a personal item.
Checked equipment is not always a free extra
Read the ski and boot-bag rules together
Check whether the airline treats the ski or snowboard bag and boot bag as a combined equipment allowance, separate pieces, or another arrangement. Delta's current sports-equipment page describes combined ski or snowboard and boot-bag weight against the baggage allowance specific to the cabin. Its source is delta.com. That does not establish a universal free extra bag or permission to fill every equipment compartment with unrelated belongings. Follow the current content, size, weight and advance-notification requirements for the actual operating carrier, including connections. Put identification on the bag, secure loose exterior straps according to its instructions and leave time for the required equipment drop-off process. Keep travel-day documents and other accessible essentials in their appropriate separate place.
A contained boot and helmet kit
Compare the 45 L Osprey transport option
The Osprey Mountain Bound Ski & Snowboard Boot Backpack has a separate upper compartment for helmet, goggles and other gear, a soft-lined top pocket, a zip-away divider and single side access to the main compartment. A padded changing mat is included. The Black O/S variant's published metric dimensions are 56 x 35 x 22 cm and its empty weight is 1.31 kg. The US offer checked October 15, 2026 was USD149.95. These figures make it a concrete option to compare with your equipment layout, rather than a promise that every boot size fits. Osprey's general carry-on statement still needs checking against your airline, fare and filled bag. Its 56 cm height alone deserves attention before choosing cabin transport.

Extra space with extra bulk
Choose the Plus only when its features solve a need
The Osprey Mountain Bound Ski & Snowboard Boot Backpack Plus increases published capacity to 55 L and adds dual side access, A-frame ski carry and vertical snowboard carry. The Cascade Blue O/S version measures 63 x 44 x 34 cm and weighs 1.57 kg empty. Its observed US price on October 15 was USD179.95. Compared with the smaller version, that is 260 g more empty weight and USD30 more at those source prices. The larger footprint needs its own transport plan; do not buy it on the assumption that it will travel as ordinary cabin baggage. Both versions specify carbonate-coated 420D NanoTough main fabric. Osprey describes high water resistance, which does not make either complete bag a waterproof container or prove protection for every journey.

Dry accessories need their own place
Separate small dry items without overfilling the kit
Keep the clean clothing group separate from damp footwear and follow the equipment's care and storage instructions. The existing Eagle Creek Pack-It Isolate Clean/Dirty Cube M research is an organization reference for spare clothing; an ordinary cube is not a waterproof barrier for wet boots. The existing Matador FlatPak Dry Bag 8L v2 research is a smaller sealed-storage reference with its own closure and capacity limits. It does not establish that a pair of ski boots will fit inside. Use these products only where their actual dimensions and instructions solve a need. The packing-cube decision guide helps distinguish organization from compression and separation. Additional pouches should simplify access, not use up the space needed to close the main bag normally.


The arrival reset
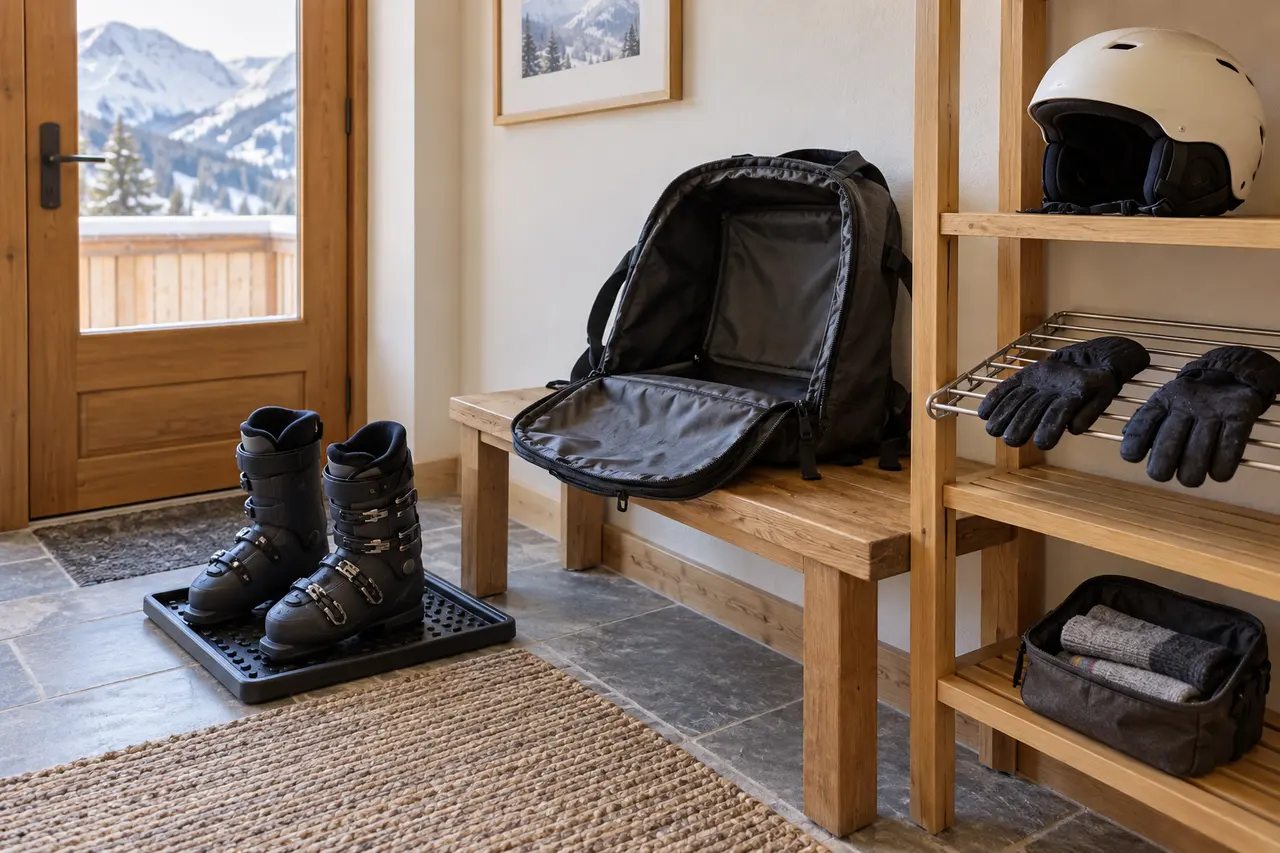
Open damp equipment in a permitted drying space
At the accommodation, use the designated equipment room or another place the host permits. Open the transport bag and arrange damp items according to their care instructions, apart from the clean clothing and sensitive accessories. A closed bag is useful during a transfer; it should not become an assumed drying system for the evening. Follow the boot maker's instructions before removing liners or applying heat. Keep equipment away from an improvised heater setup and do not assume everything will be dry by morning. Check the bag and pockets before the next departure so goggles, gloves and small items return to the right places. The travel-laundry guide at travistello.com covers the separate clothing wash-and-dry decision.
Final check and sources
Keep the bag useful from departure to return
Before leaving, confirm the equipment list, the complete packed dimensions and weight, operator rules and the accommodation's equipment arrangements. Prefer a suitable bag you already own when it does the job. New capacity is worthwhile only when the actual kit and transfers need it. Product specifications and US offers were checked against Osprey's selected official pages on October 15, 2026. Its US functional repair policy at osprey.com includes exclusions for cosmetic wear, loss, third-party costs and personal preferences; other regional policies can differ. Airline source links above are planning checks, not acceptance guarantees for a future flight. Finish with a simple return-trip plan: clean items grouped, damp equipment handled appropriately, and every small accessory accounted for.